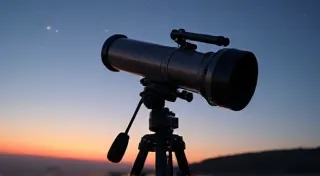
Understanding Astrophotography Exposure: A Beginner's Guide
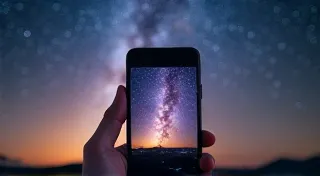
Astrophotography – capturing the beauty of the night sky – can seem daunting, especially when it comes to understanding exposure. Unlike daytime photography, the low light conditions present unique challenges. But don't worry! This guide breaks down the fundamentals of aperture, ISO, and shutter speed specifically for astrophotography, transforming technical terms into practical steps for stunning night sky images.
The Exposure Triangle: A Refresher
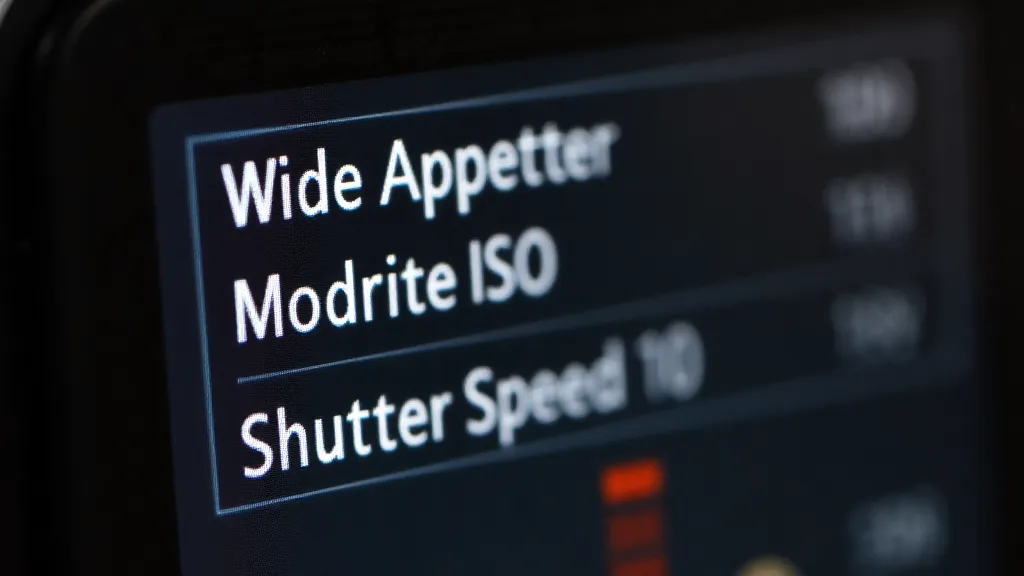
Before diving into astrophotography specifics, let's quickly recap the exposure triangle. It’s the relationship between three crucial settings on your camera:
Aperture in Astrophotography: Wide Open is Often Best
Aperture is expressed as an f-number (e.g., f/2.8, f/4, f/5.6). A lower f-number means a wider aperture, allowing more light to hit the sensor. For astrophotography, we almost always want to shoot at the widest aperture your lens allows. Why? More light equals brighter images – a necessity when capturing faint celestial objects. Stopping down (increasing the f-number) will decrease brightness and often introduce diffraction, which softens the image.
Actionable Step: Set your lens to its lowest f-number (e.g., f/2.8, f/3.5, or even wider).

ISO: Finding the Sweet Spot
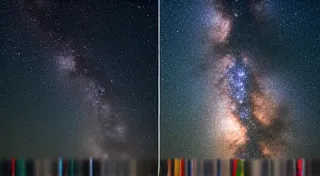
ISO represents the camera's sensitivity to light. A higher ISO means greater sensitivity, but also introduces more noise (grain) in the image. Lower ISO values produce cleaner images, but require longer exposures. The "sweet spot" for ISO in astrophotography is a balance between brightness and noise.
Generally, starting with ISO 800 or ISO 1600 is a good starting point. Experiment and see what your camera can handle before noticeable noise becomes excessive. Modern cameras often perform better at higher ISOs than older models. Achieving the best results often means learning to expertly handle noise reduction during post-processing - a skill outlined in our article on post-processing astrophotography images.
Actionable Step: Start with ISO 800 or ISO 1600 and adjust based on the results. Take test shots and zoom in to assess noise levels.
Shutter Speed: Balancing Exposure and Tracking
Shutter speed dictates how long the camera’s sensor is exposed to light. Longer shutter speeds gather more light, but also amplify any tracking errors in your mount. Even the best equatorial mounts have a little bit of drift. A short exposure can be crisp, but too dark. A long exposure can be bright, but blurry.
The 500 Rule (and its variations): A common guideline is the "500 Rule." Divide 500 by your lens’s focal length (in millimeters) to get the maximum shutter speed (in seconds) before stars start to trail due to Earth’s rotation. For example, with a 50mm lens: 500 / 50 = 10 seconds.
However, the 500 rule is a generalization. More accurate calculations exist (like the NPF rule), and your specific camera and mount capabilities will influence the maximum usable shutter speed. Always check for star trailing! It’s also essential to ensure your mount is precisely aligned – a process explained in detail in our mastering the polar alignment process guide.
Actionable Step: Calculate your maximum shutter speed using the 500 rule (or a more precise method) and check your images for star trailing. If trailing is present, reduce your shutter speed.
Putting it All Together: A Starting Point
Here’s a suggested starting point for your astrophotography exposure settings:
Beyond the Basics: Advanced Techniques
Once you’re comfortable with the fundamentals, consider exploring advanced techniques to further refine your results and tackle more challenging targets. This often involves considerable time spent sharing your work and connecting with other astrophotographers— a path we explore in our guide to sharing your astrophotography.
Deep Dive into Specific Scenarios
Let's explore some specific situations and how to adjust your settings accordingly.
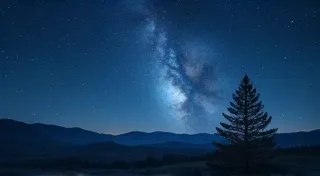
Shooting the Milky Way
The Milky Way presents a unique challenge: it's incredibly faint, yet spreads across the entire sky. For this, you're going to want to err on the side of longer exposures. However, you're also limited by star trailing. A good starting point is to use the widest aperture your lens allows (e.g., f/2.8, f/3.5), an ISO between 1600 and 3200, and a shutter speed calculated using the 500 rule, adjusted downward if necessary. Consider using a focal length around 24-35mm for a wider view. Remember that image stacking will dramatically improve the final result by minimizing noise.
Photographing Nebulae
Nebulae are diffuse clouds of gas and dust, often incredibly distant. They are typically much fainter than the Milky Way. Longer exposure times are essential to gather enough light to reveal their details. This frequently requires an equatorial mount capable of tracking for extended periods. Using a high ISO (3200 or even higher) may be necessary, but will significantly increase noise. Dithering and image stacking become even more critical in these scenarios to reduce noise and maintain detail.
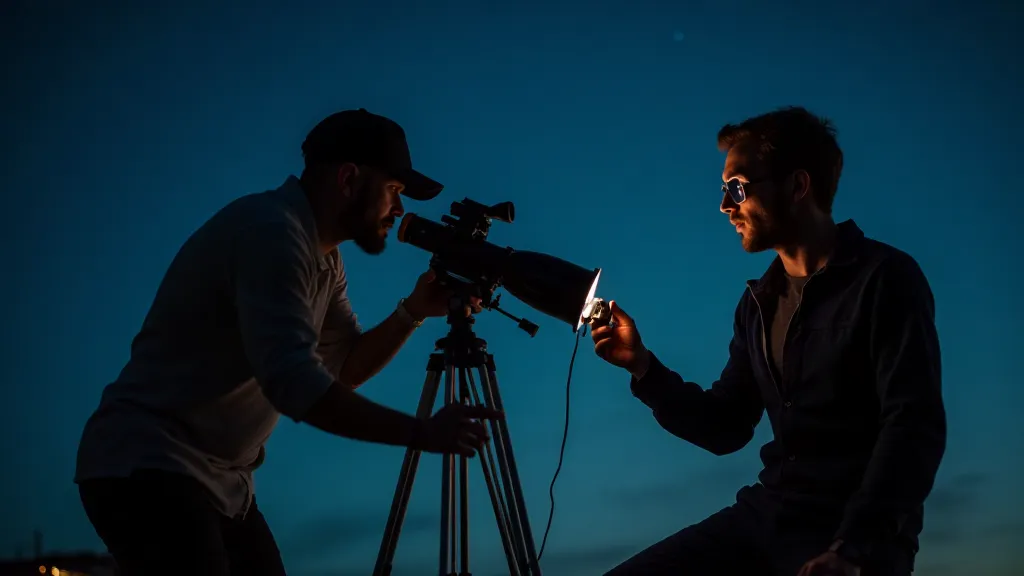
Shooting Planets
Photographing planets is a different beast altogether. Planets are relatively small and bright, so long exposures are not needed. Instead, a short exposure time (e.g., 1/1000th of a second or faster) is required to freeze the planet's motion due to atmospheric turbulence. A narrow-band filter can help to block out unwanted light pollution and enhance the planet’s features. You’ll also need a telescope and potentially an autoguider to achieve sharp images.
Troubleshooting Common Issues
Even with careful planning, you may encounter problems during your astrophotography sessions. Here are some common issues and how to address them:
- Star trailing: Reduce your shutter speed and/or use a shorter focal length.
- Excessive noise: Lower your ISO, use a shorter exposure time, and/or use image stacking.
- Blurry images: Ensure your mount is properly aligned and/or use a shorter exposure time.
- Low contrast: Adjust your white balance and/or use a polarizing filter.
With practice and experimentation, you’re well on your way to capturing breathtaking images of the night sky!