Mastering the Polar Alignment Process for Astrophotography
Accurate polar alignment is crucial for tracking the stars. Learn step-by-step instructions for aligning your equatorial mount.
One of the most frustrating aspects of astrophotography is dealing with tracking errors. These errors appear as star trails in your images, ruining what could have been a stunning capture of the night sky. More often than not, the culprit is a poorly executed polar alignment.
Polar alignment, simply put, means aligning your equatorial mount with the Earth's rotational axis. An equatorial mount is designed to rotate around this axis, allowing you to track the apparent motion of the stars with a single motor. If your mount isn’t properly aligned, it won’t track accurately, and your images will be blurry.
Why is Polar Alignment So Important?
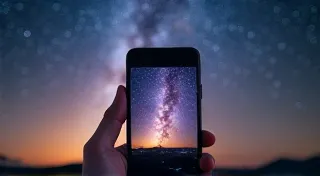
Imagine attempting to take a 5-minute exposure of the Andromeda Galaxy. Even a small misalignment can cause the galaxy to noticeably shift across your sensor during that time, resulting in a blurred image. Longer exposures exacerbate the problem significantly. Mastering polar alignment is arguably the single most important skill an astrophotographer can develop. The depth of field and overall sharpness are also impacted by precise exposure times – learn more about understanding astrophotography exposure to optimize your results. It’s worth remembering that even simple setups can yield impressive results, particularly when leveraging a smartphone’s capabilities. You might be surprised at what you can achieve by following some carefully considered astrophotography for smartphones: tips and tricks.
Methods for Polar Alignment
There are several approaches to polar alignment, ranging from basic visual methods to advanced software-assisted techniques. Here's a breakdown of common methods, ordered roughly by complexity:
1. The "Eyeball" Method (Rough Alignment)
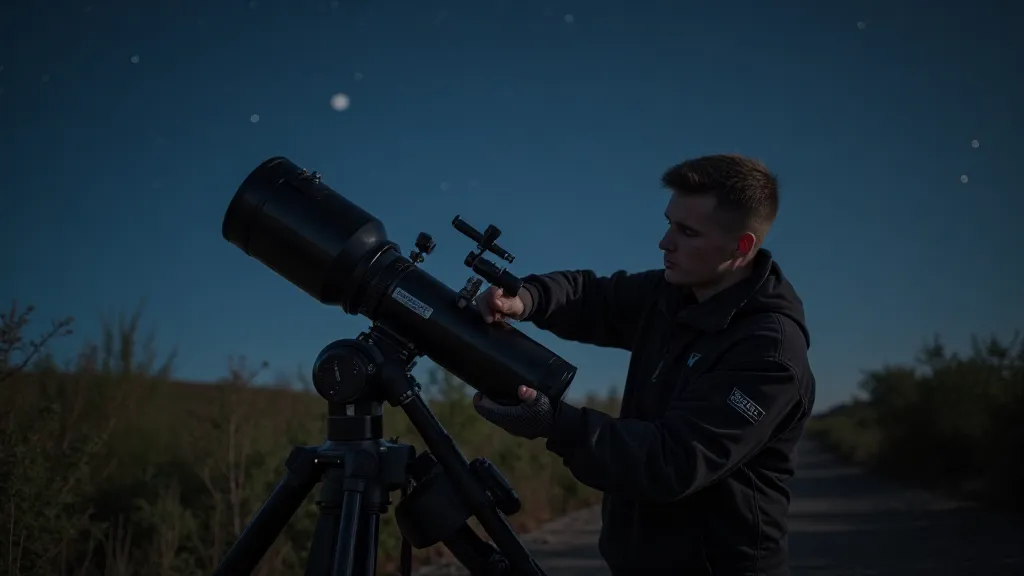
This is a starting point for most astrophotographers. It relies on aligning your mount using a compass and level, and then fine-tuning based on visual observation.
- Set Up Your Mount: Level your equatorial mount using bubble levels. Accurate leveling is essential.
- Find Polaris: Locate Polaris (the North Star) in the night sky. Using a star chart or app is incredibly helpful.
- Initial Alignment: Adjust your mount’s latitude setting to your geographical latitude. Then, roughly align the mount so that Polaris is centered in the polar scope (if your mount has one) or visually aligned using the finderscope.
This method gets you in the ballpark but is rarely accurate enough for exposures longer than a minute or two.
2. Polar Scope Adjustment
Most equatorial mounts are equipped with a polar scope – a small, specialized telescope designed to help align with the celestial pole. This method improves on the "eyeball" method considerably.
- Understand Declination and Right Ascension: The polar scope uses a graticule (a grid pattern) to measure deviations in alignment. You’ll need to adjust declination and right ascension to center Polaris within the graticule.
- Use Drift Correctors (Optional): Some mounts have drift correction features that slightly adjust the motor speeds to compensate for minor polar alignment errors. This is a helpful feature, but it shouldn't be relied upon as a substitute for good alignment.
Polar scope alignment is significantly more accurate than visual methods, allowing for exposures of 5-10 minutes with reasonable accuracy. Calibration is key – this involves taking short exposures and analyzing the resulting star trails to fine-tune your alignment. If you're new to astrophotography, you might be wondering about the impact of your equipment's focal length - understanding understanding focal length in astrophotography can help refine your setup. Achieving truly breathtaking results often requires overcoming challenges, such as dealing with unwanted light pollution. Learning how to effectively minimize understanding light pollution and how to minimize it can dramatically improve your final images.
3. Software-Assisted Polar Alignment (Drift Alignment)
This is the most accurate method, and it relies on specialized software that analyzes short exposures to precisely correct for polar alignment errors. It's more complex, but the results are worth the effort.
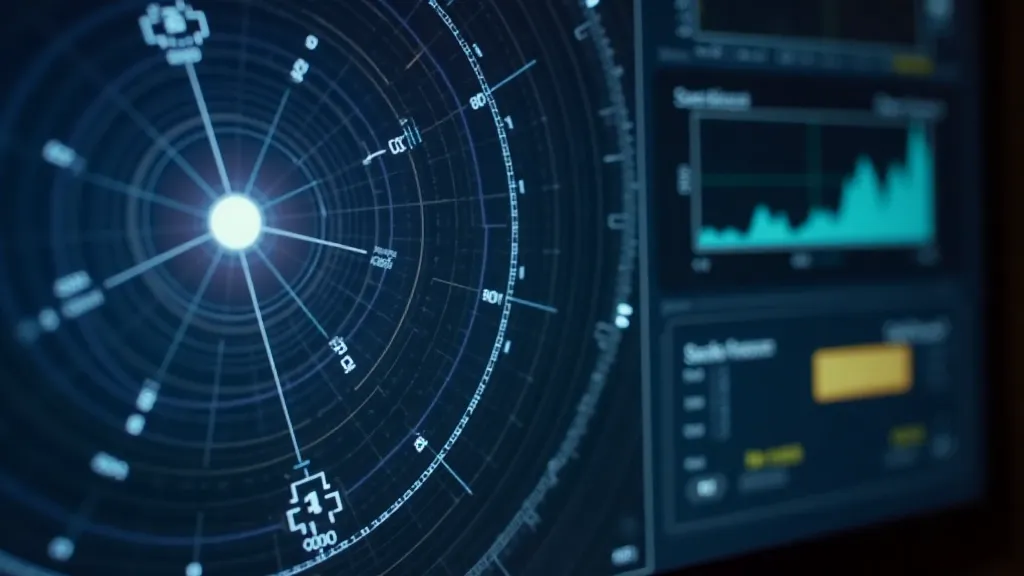
- Use a Dedicated Software: Programs like PHD2 Guiding are industry standards.
- Guide Star Selection: The software will guide you to find a suitable guide star near the celestial pole.
- Analyze Star Trails: The software will analyze the movement of the guide star over short exposures.
- Mount Adjustments: The software will provide precise instructions for adjusting the mount’s position to minimize star trails.
With software-assisted polar alignment, you can achieve sub-arcminute accuracy, allowing for exposures exceeding 20 minutes or even an hour, depending on your equipment and the conditions. The entire process, from initial setup to final image processing, is a continuous learning experience, demanding patience, attention to detail, and a willingness to experiment with different techniques. It's not just about the hardware; it’s about mastering the entire workflow to unlock the full potential of your astrophotography setup.
Tips for Success
- Practice: Polar alignment is a skill that improves with practice.
- Invest in Quality Equipment: A sturdy and well-built equatorial mount will make alignment much easier.
- Account for Hour Angle: As your mount rotates throughout the night (hour angle), the error from your polar alignment will change.
- Check Regularly: Re-check your polar alignment periodically, especially if the mount is bumped or moved.
Beyond the technical aspects, remember that capturing stunning astrophotographs is about more than just precision and equipment. It's also about developing your artistic eye and understanding how to best represent the beauty of the night sky. Even using relatively simple equipment can yield impressive results, especially when coupled with careful planning and a methodical approach. Consider exploring techniques to enhance your images further; even small adjustments can make a significant difference in the final presentation.
Mastering polar alignment is a journey. It requires patience, attention to detail, and a willingness to experiment. But the rewards – stunning, well-tracked astrophotographs – are well worth the effort. Consider the entire process from setup to image processing a continuous learning experience.