Lunar Astrophotography: Capturing the Moon's Beauty
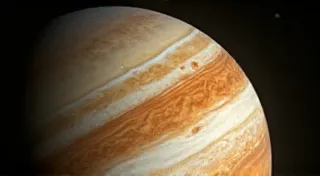
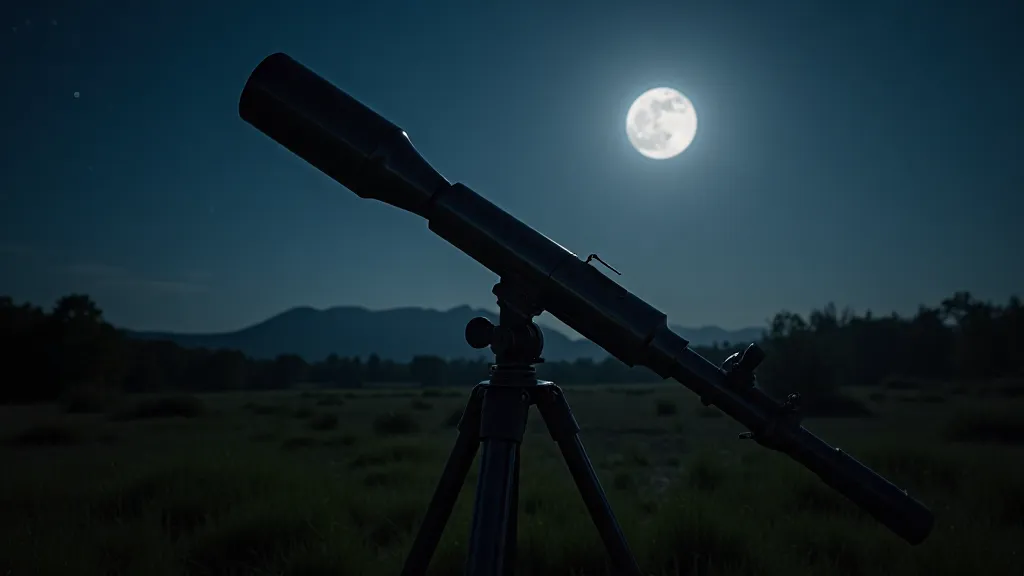
The Moon, our closest celestial neighbor, offers an incredibly rewarding subject for astrophotography. From the delicate curve of a crescent to the dramatic craters of a full moon, capturing its beauty is a fantastic introduction to night sky photography. This guide will walk you through the techniques and considerations needed to successfully photograph the Moon.
Understanding the Challenges
Unlike faint deep-sky objects, the Moon is bright. This presents unique challenges. Overexposure is a constant threat, and subtle details can be easily washed out. Atmospheric conditions also play a crucial role – seeing conditions (atmospheric turbulence) can make the Moon appear blurry, even with good equipment. Before diving into the specifics of capturing these details, it's worth considering the broader scope of astrophotography and the equipment needed to navigate it. While lunar photography is accessible, many enthusiasts eventually progress to imaging more distant objects; understanding how to choose the right telescope mount becomes increasingly important as you venture further into the night sky. The journey often leads to expanding your horizons and tackling more ambitious projects, like capturing the breathtaking expanse of the Milky Way.
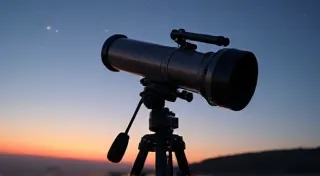
Essential Equipment
While a dedicated telescope is ideal, stunning lunar images can be captured with surprisingly modest setups:
- Camera: A DSLR or mirrorless camera is best. Higher megapixel counts allow for more detail to be captured.
- Lens: A telephoto lens (200mm or greater) is highly recommended to magnify the Moon's surface. Prime lenses (fixed focal length) generally offer better image quality.
- Tripod: A sturdy tripod is essential for sharp images.
- Remote Shutter Release (Optional): Minimizes camera shake during long exposures.
Techniques for Lunar Photography
Exposure Settings
Getting the exposure right is critical. Because the Moon is so bright, you’re aiming for short exposure times. Start with these guidelines, and adjust based on your equipment and the lunar phase:
- ISO: Keep the ISO as low as possible (ISO 100 or 200 is usually ideal) to minimize noise.
- Aperture: Use the widest aperture your lens allows (e.g., f/2.8, f/3.5).
- Shutter Speed: Start with shutter speeds between 1/250th and 1/1000th of a second. Experiment to find what works best for your setup. Brighter phases require shorter shutter speeds.
- Metering Mode: Experiment with different metering modes (Evaluative/Matrix, Center-weighted, Spot) to see which produces the best results.
Focusing
Sharp focus is paramount. Use live view and zoom in on the moon’s surface to achieve critical focus. Manual focus is generally more precise than autofocus for astrophotography.
Lunar Phase Considerations
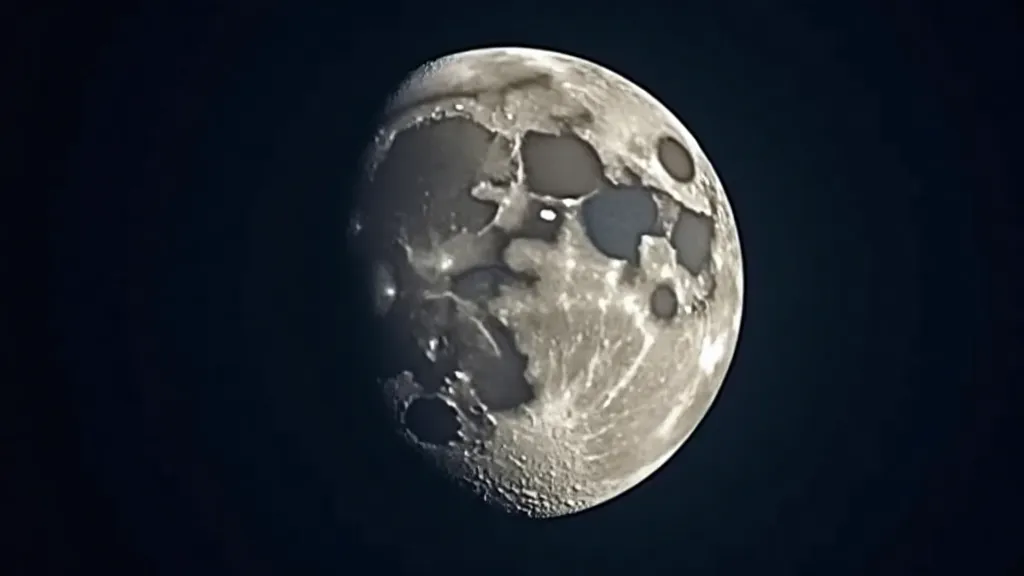
The lunar phase affects the lighting and shadows on the Moon's surface. Full moons offer maximum brightness but minimal contrast. Crescent and quarter moons offer more dramatic shadows, revealing more detail. Understanding how to capture this nuance is just the beginning; those eager to expand their astrophotography horizons often find themselves captivated by the vastness of the cosmos. Learning about widefield astrophotography can be a natural progression, allowing you to capture the Milky Way alongside the Moon in a single frame, revealing the broader context of our lunar neighbor within the grandeur of the galaxy.
Stacking (Optional)
For even more detail, consider taking multiple images and stacking them using software like DeepSkyStacker. This technique reduces noise and enhances subtle details. Even a small number of images (20-30) can significantly improve the final result. While lunar photography benefits from stacking, tackling faint deep sky object (DSO) astrophotography often *requires* it – multiple exposures, guiding, and sophisticated processing techniques are common. Mastering the basics of lunar imaging lays a strong foundation for these more complex endeavors.
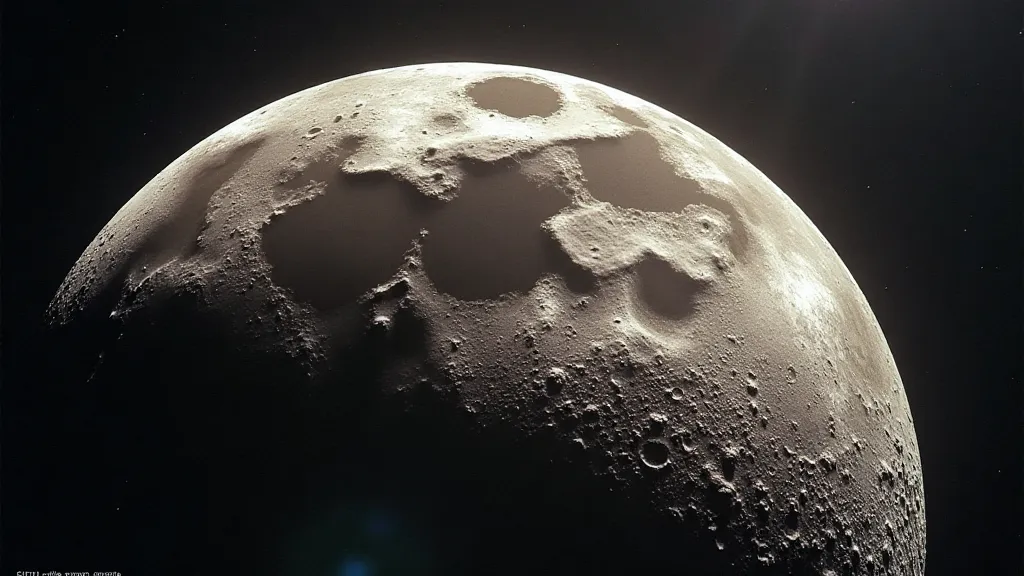
Image Processing
Post-processing is an essential step in lunar astrophotography. Here's what to focus on:
- Contrast Adjustment: Enhance the differences between light and shadow.
- Shadow Recovery: Gently lift the shadows to reveal more detail in dark areas.
- Sharpening: Apply subtle sharpening to bring out finer details. Be careful not to over-sharpen, as this can introduce artifacts.
- Noise Reduction: Apply noise reduction if necessary, especially if you're pushing the shadows.
Advanced Considerations and Troubleshooting
Beyond the basics, several factors can impact your lunar astrophotography results. Atmospheric seeing conditions, as mentioned earlier, are a major influence. Even on nights with generally good seeing, localized turbulence can cause shimmering and blurriness. There’s not much you can do to directly control atmospheric conditions, but choosing nights with stable air is crucial. Weather apps and specialized astronomy forecasting sites can help with this. Predicting seeing conditions is a complex science, and experience often provides the best guide – learning to identify patterns in weather data and how they relate to atmospheric stability is a valuable skill for any serious astrophotographer.
Light pollution, even in seemingly dark locations, can degrade image quality. While the Moon itself is bright, unwanted light can still impact the overall contrast and introduce noise. Understanding and mitigating light pollution is a common challenge for astrophotographers. Several strategies exist, including using light pollution filters, choosing observing locations far from urban areas, and carefully processing your images to remove unwanted light. Exploring understanding light pollution and effective mitigation techniques is crucial for achieving optimal results, especially when venturing beyond readily accessible dark sky locations.
When using longer focal lengths, camera shake becomes a more significant issue. A sturdy tripod is essential, and using a remote shutter release minimizes vibrations. For even greater stability, consider using a star tracker, which compensates for the Earth's rotation, allowing for longer exposures without star trails. Careful alignment and precise tracking are vital for capturing sharp, detailed images – it’s a skill that requires practice and attention to detail.
Another often overlooked aspect is the impact of humidity. Condensation on your lens can seriously degrade image quality, particularly during temperature changes. Always allow your equipment to acclimate to the ambient temperature before starting your session, and consider using a dew heater to prevent condensation. These seemingly minor details can make a significant difference in the final result.
Furthermore, the gear itself plays a pivotal role. While you can achieve impressive results with basic equipment, investing in higher-quality lenses and imaging sensors can unlock new levels of detail and performance. Choosing the right equipment for your budget and skill level is an ongoing process – research, experimentation, and advice from experienced astrophotographers can be invaluable.
Final Thoughts
Lunar astrophotography is an accessible and rewarding entry point into the world of night sky photography. By understanding the challenges and applying these techniques, you'll be well on your way to capturing stunning images of our celestial neighbor! As you gain experience, the possibilities expand, and the universe awaits your exploration.