Essential Astrophotography Equipment for Beginners
So you're captivated by the beauty of the night sky and want to capture it? Fantastic! Astrophotography can seem intimidating, especially when looking at the impressive setups of experienced astrophotographers. But don't be discouraged! Getting started doesn't require breaking the bank. This guide breaks down the essential astrophotography equipment for beginners, focusing on budget-friendly options.
1. The Camera: Your Digital Canvas
You might be surprised, but you likely already have a suitable camera! Most modern DSLRs and mirrorless cameras are perfectly capable of capturing stunning images of the night sky. While dedicated astronomy cameras offer specialized features, they're not essential for beginners. Look for a camera with manual mode, the ability to shoot in RAW format (crucial for processing), and good high-ISO performance (to capture faint light).
Budget-Friendly Option: Used DSLR or Mirrorless camera – look for models a few generations old. They'll often be significantly cheaper and offer excellent performance.
2. The Lens: Framing the Universe
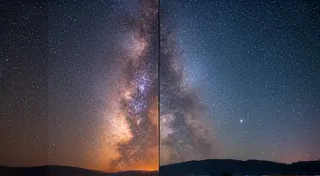
Lenses play a crucial role in capturing wide-field views of the Milky Way, constellations, and nebulas. A wide-angle lens is generally preferred for beginners. Focal lengths between 14mm and 35mm are a great starting point. A fast aperture (f/2.8 or faster) allows more light to reach the sensor, enabling shorter exposure times and brighter images. Consider the impact of field rotation when using wide angle lenses on equatorial mounts - accurate tracking is key to avoiding distortions. For those fascinated by the ethereal beauty of nebulae and the challenges of capturing their fleeting details, exploring techniques for capturing ephemeral blooms can be a rewarding next step.
Budget-Friendly Option: Used or older model wide-angle lens with a fast aperture. Renting a lens is also a great way to try before you buy.

3. The Mount: Stability is Key
This is where things get a little more complex. Earth’s rotation makes stars appear to move across the sky. Without a stable mount, your images will be blurry. There are two main types: altitude-azimuth (Alt-Az) and equatorial.
Alt-Az Mounts: These are simpler and generally cheaper but require you to track your target manually or use an image stacking technique in post-processing. They're fine for wide-field shots or short exposures.
Equatorial Mounts: These mounts compensate for Earth's rotation by rotating on a single axis. This allows you to take longer exposures without star trails. They’re more expensive and require some setup and polar alignment, but are essential for deep-sky imaging. Choosing the right telescope mount can be overwhelming; consider factors like weight capacity, tracking accuracy, and ease of use. Proper polar alignment is vital for equatorial mounts; even slight misalignments can lead to noticeable star trailing over longer exposures. A guiding system can further refine tracking accuracy.
Budget-Friendly Option: A basic Alt-Az mount for wide-field shots. Consider a used equatorial mount if you're serious about deep-sky astrophotography, but be prepared to learn the basics of polar alignment.
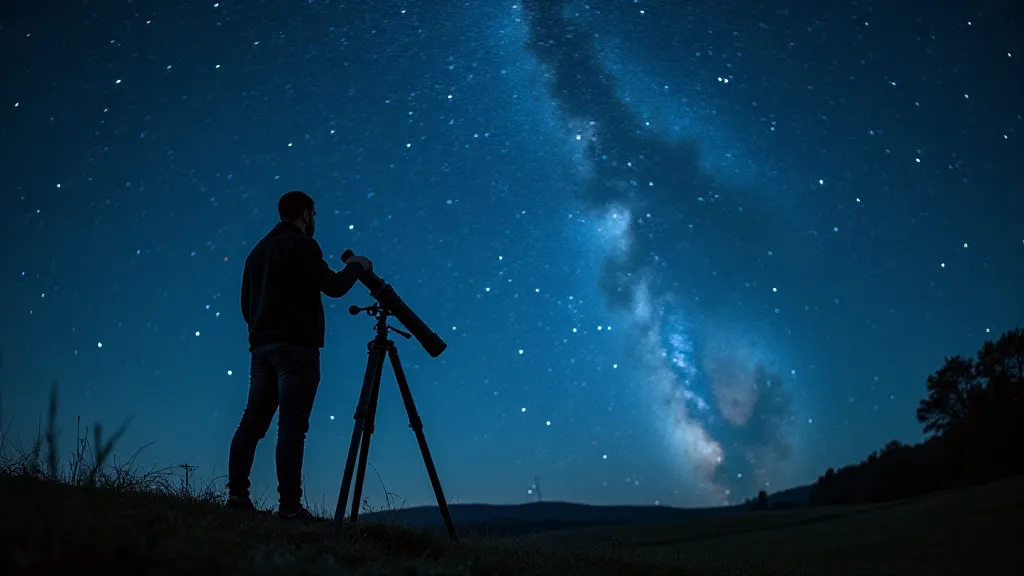
4. The Telescope (Optional, but Powerful)
Telescopes gather more light than lenses, allowing you to capture fainter deep-sky objects like galaxies and nebulae. They require a more robust equatorial mount to handle their weight and magnification. For beginners, a smaller aperture telescope (80mm-130mm) is a good starting point. When aiming at planets, you’re not just relying on the telescope’s magnification; learning about specific imaging techniques, as described in planet imaging guides, can dramatically improve your results. Understanding concepts like lucky imaging and stacking becomes crucial for capturing sharp details.
Budget-Friendly Option: A used refractor telescope in good condition. Be sure it comes with a sturdy equatorial mount.
5. Essential Accessories
Beyond the core equipment, a few accessories can significantly improve your astrophotography experience:
- Remote Shutter Release: Minimizes camera shake during exposures.
- Intervalometer: Allows you to automate a series of exposures.
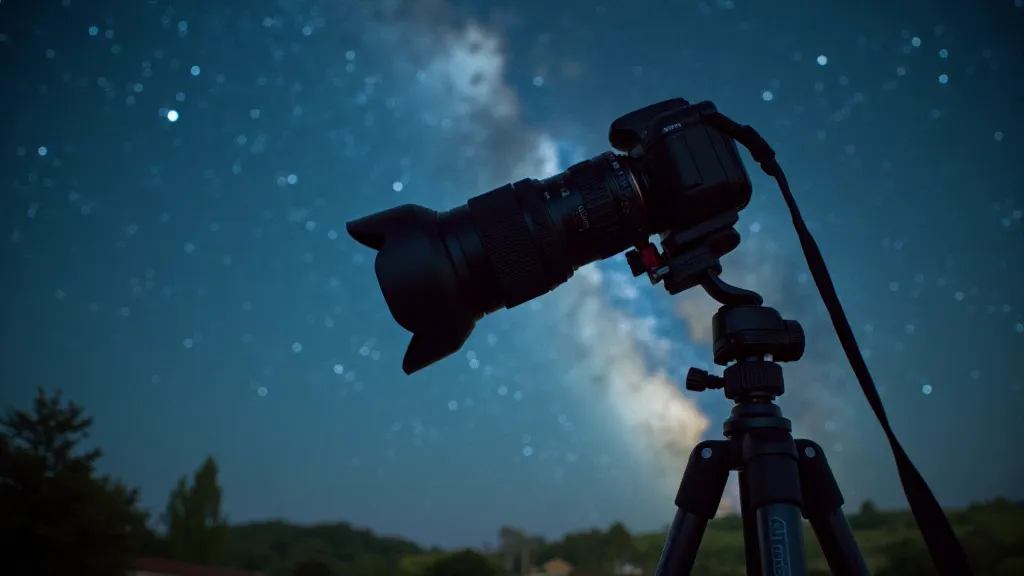
- Tripod: A sturdy tripod is vital for stability.
- Headlamp (red light): Red light preserves your night vision.
- Dew Heater: Prevents condensation on your lens or telescope.
- Calibration Frames: Taking darks, flats, and biases is essential for removing noise and artifacts in your final images. This process is detailed in astrophotography calibration guides.
Understanding Calibration Frames: A Deeper Dive
To achieve truly exceptional astrophotography results, learn about and utilize calibration frames. These are essential for removing noise and artifacts that arise during long exposures. Dark frames capture the thermal noise of your camera sensor, flat frames correct for vignetting and dust motes, and bias frames capture the read noise of your camera. Consistent calibration is critical to ensure clean, professional-looking images. Mastering these techniques can be the difference between a passable image and a truly stunning capture of the cosmos.
Safety First: Observing the Night Sky Responsibly
Spending hours under the night sky is an incredible experience, but it’s crucial to prioritize your safety. Be mindful of weather conditions, potential wildlife encounters, and the importance of letting someone know your location. Also, be aware of light pollution and its impact on your observations – seeking out darker skies whenever possible will significantly enhance your results. Resources like astrophotography safety guides provide valuable information for responsible observing.
Getting Started: Prioritize and Learn
Don't feel pressured to buy everything at once. Start with a camera and a wide-angle lens on a sturdy tripod. Master the basics of manual mode and learn about composition. As you gain experience, you can gradually add more specialized equipment.
The most important thing is to get out there and start capturing the beauty of the night sky! Experiment, learn from your mistakes, and enjoy the process. The techniques required to capture detailed images of planets are distinctly different from those used for widefield views.
Troubleshooting Common Astrophotography Challenges
Even with the right equipment, you’re bound to encounter challenges. Star trailing is a common issue, easily solved by ensuring accurate polar alignment or using a guiding system. Vignetting, the darkening of corners in your images, can be corrected using flat frames. Dust motes on your sensor will appear as bright dots in your images – regular cleaning is essential. Careful observation and consistent application of the techniques outlined in calibration guides are your best defense against these common pitfalls.
The Future of Astrophotography
Astrophotography is a rapidly evolving field, with new technologies and techniques constantly emerging. From advanced tracking systems to sophisticated image processing software, the possibilities are endless. The exploration of deep-sky objects often demands an understanding of advanced post-processing techniques, allowing astrophotographers to unveil details hidden within raw data. Embrace the learning process, connect with other astrophotographers, and contribute to the ongoing exploration of the cosmos!