Choosing Your First Astrophotography Camera: DSLRs vs. Mirrorless vs. Dedicated Astro Cameras
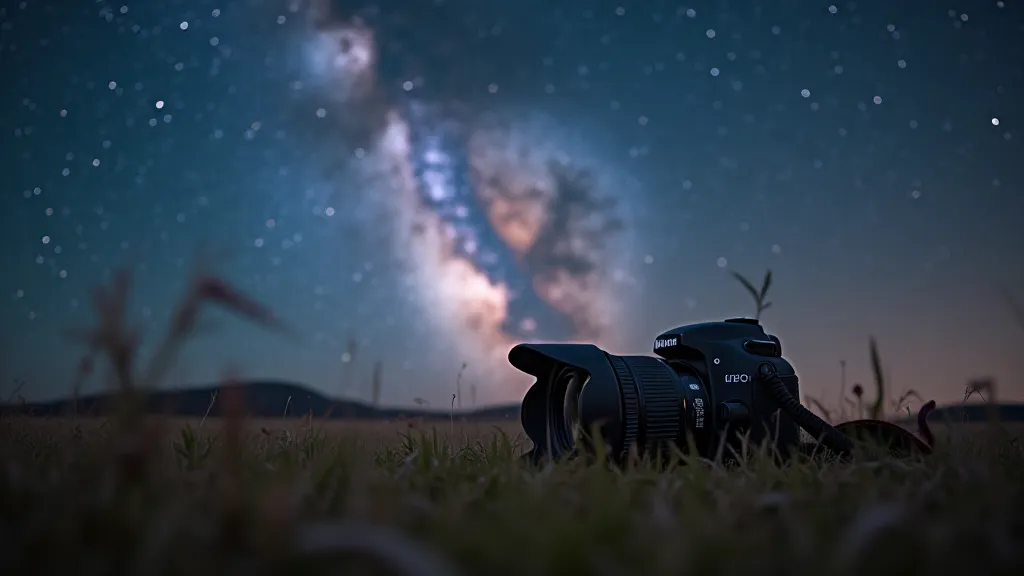
So, you’re ready to embark on the incredible journey of capturing the wonders of the night sky! But before you even think about star trails or the Andromeda Galaxy, you need the right tools. Choosing your first astrophotography camera can feel overwhelming, with seemingly endless options. This guide breaks down the pros and cons of the three main categories: DSLRs, mirrorless cameras, and dedicated astrophotography cameras, helping you find the best fit for your budget and aspirations.
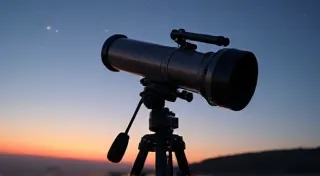
Before diving into the camera options, it's important to understand that astrophotography often involves longer exposure times to gather enough light from faint objects. This means a solid camera mount is crucial for stability and tracking. If you're just starting, you might want to research choosing the right telescope mount to ensure sharp images.
DSLRs: The Accessible Entry Point
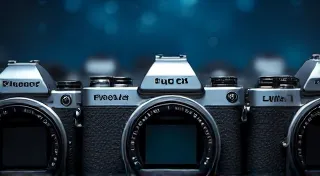
Digital Single-Lens Reflex (DSLR) cameras have been the workhorses of astrophotography for years. Their popularity stems from their affordability, wide availability, and extensive lens selection. Many photographers already own a DSLR, making it a convenient starting point.
Pros of DSLRs for Astrophotography:
Cons of DSLRs for Astrophotography:
To get the absolute best results from any camera, it’s essential to understand the role of calibration frames like darks, flats, and biases. Properly accounting for these in your workflow can significantly reduce noise and improve image quality. For a deeper understanding, explore astrophotography calibration frames.
Mirrorless Cameras: The Modern Alternative
Mirrorless cameras have quickly gained popularity in recent years, and they offer compelling advantages for astrophotography. Their electronic viewfinder (EVF), silent operation, and improved sensor technology make them attractive alternatives to DSLRs.
Pros of Mirrorless Cameras for Astrophotography:
Cons of Mirrorless Cameras for Astrophotography:
As with DSLRs, achieving pristine astrophotography results demands more than just a capable camera body. Careful attention to exposure settings is paramount. Learn the nuances of understanding astrophotography exposure for stunning results. Longer exposures can make it difficult to accurately gauge exposure in real-time, so calibration frames become even more important.
Dedicated Astrophotography Cameras: The Specialist Choice
Dedicated astrophotography cameras, sometimes referred to as "astro cams," are designed specifically for capturing deep-sky objects. They prioritize sensor performance and cooling capabilities above all else.
Pros of Dedicated Astrophotography Cameras:
Cons of Dedicated Astrophotography Cameras:

The specialized nature of these cameras means there's a learning curve. Mastering techniques for minimizing noise and ensuring accurate exposures is vital. Even with the advanced features, taking proper dark, flat, and bias frames is an absolutely essential part of the workflow, and understanding astrophotography calibration frames is paramount to achieving excellent results.
Which Camera is Right for You?
The best camera for your astrophotography journey depends on your budget, experience level, and goals. If you're just starting out and want a relatively affordable option, a DSLR is a great choice. If you're looking for improved performance and silent operation, a mirrorless camera is an excellent upgrade. And if you're serious about capturing deep-sky objects and are willing to invest in specialized equipment, a dedicated astrophotography camera is the ultimate choice.
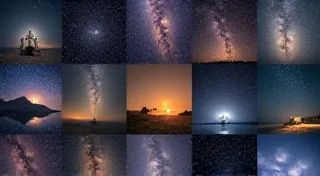
Beyond the camera body itself, consider the broader ecosystem. Widefield astrophotography, which focuses on capturing large portions of the sky like the Milky Way, often benefits from different lenses and techniques compared to imaging individual nebulae. If you’re interested in wider views, explore widefield astrophotography to discover the beauty of our galaxy.
Ultimately, the best way to learn is by doing. Start with what you have, experiment with different settings and techniques, and gradually expand your knowledge and equipment as you progress. Happy imaging!