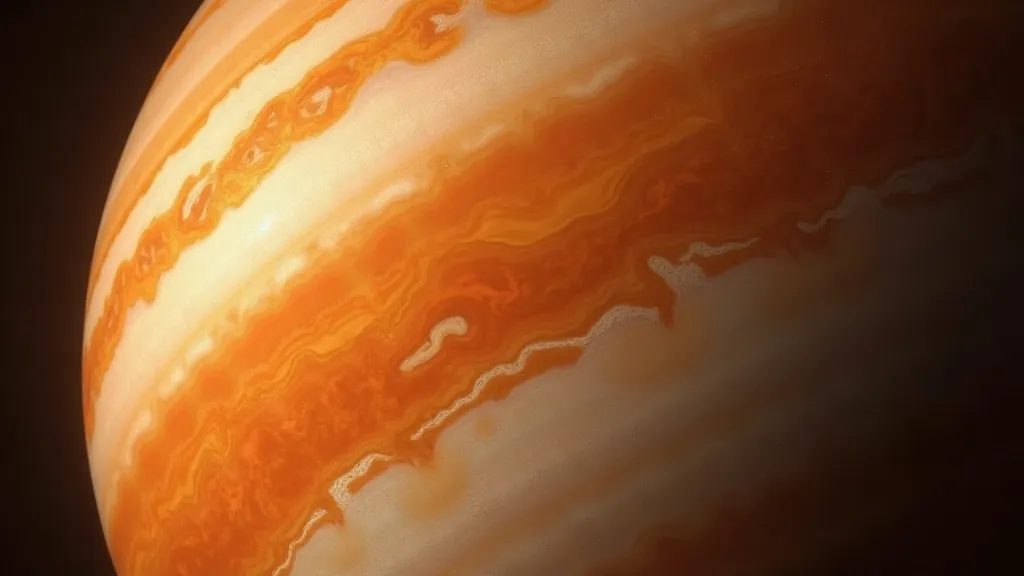
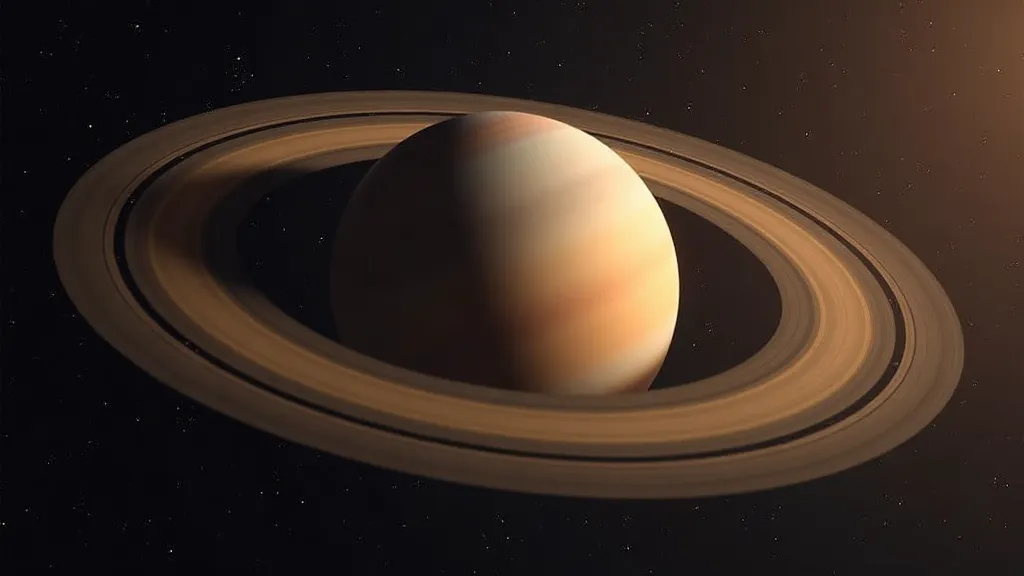
Planet Imaging: Techniques for Capturing Jupiter, Saturn, and More
Capturing stunning images of planets like Jupiter and Saturn is a rewarding, albeit challenging, endeavor in astrophotography. Unlike deep-sky objects, planets require a different approach, demanding faster optics, precise tracking, and specialized techniques. This guide will walk you through the essential steps to improve your planetary details and capture impressive images.
Understanding the Challenges
Planetary imaging differs significantly from deep-sky astrophotography. Here's why:
- Fast Seeing Conditions: The Earth's atmosphere creates turbulence that distorts the planet's image. This "seeing" greatly limits the level of detail you can resolve. Understanding and mitigating the effects of atmospheric turbulence is crucial; it's often the difference between a blurry image and a sharp one.
- Fast Optics Needed: Planets appear small in the sky, requiring telescopes with longer focal lengths and narrower apertures (faster optics) to magnify them sufficiently. The longer the focal length, the more detail you can resolve, but it also amplifies the effects of atmospheric turbulence.
- High Frame Rates: Capturing sharp details requires extremely high frame rates to freeze the effects of atmospheric turbulence. Each frame represents a snapshot in time, and faster frame rates increase the likelihood of capturing a moment where the turbulence is minimal.
- Short Exposure Times: Planets are relatively bright, requiring very short exposure times to avoid overexposure and preserve detail. Finding the optimal exposure time is a balancing act – too long and the image will be washed out; too short and you’re losing signal.
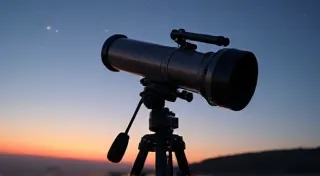
- Telescope: A telescope with a focal length of at least 800mm is recommended. Refractors are often preferred for their ability to provide sharp, high-contrast images, but a well-corrected reflector can also work. Consider the trade-offs between aperture and focal length.
- Camera: A dedicated astronomy camera is ideal, offering high frame rates and low noise. However, a modified DSLR or mirrorless camera can also be used. A key difference between astronomical cameras and standard cameras lies in their ability to handle long exposures and low light conditions.
- Mount: A robust equatorial mount with precise tracking is absolutely critical. Inaccurate tracking will result in blurry images. Investing in a high-quality mount is often the single most significant upgrade you can make to your astrophotography setup.
- Capture Software: Software like N.I.T. (Northern Lights Image Technology) or SharpCap is essential for controlling the camera, capturing video, and focusing. These programs allow you to control camera settings, capture video in real-time, and often provide focusing aids.
- Filters: Planetary filters can help to enhance specific features on the planet’s surface, revealing subtle details that would otherwise be lost.
- Barlow Lens: A Barlow lens can effectively increase the focal length of your telescope, allowing you to achieve even higher magnifications.
- Focusing: Accurate focusing is paramount. Use a Bahtinov mask or software-based focusing aids to achieve pinpoint focus. Achieving critical focus is often the most frustrating aspect of planetary imaging.
- Video Capture: Instead of individual images, capture short videos (typically 60-300 seconds) of the planet. This allows for stacking and noise reduction in post-processing.
- Frame Rate: Aim for a high frame rate (30-100 fps or higher) to increase the chances of capturing sharp frames. Experiment with different frame rates to find the optimal balance between capture time and data volume.
- Exposure Time: Keep exposure times very short (typically 1/1000 to 1/3200 of a second) to minimize atmospheric distortion. Shorter exposure times freeze the atmosphere, but they also reduce the amount of light captured.
- Gain/ISO: Adjust the gain or ISO setting to achieve a good signal level without introducing excessive noise. Higher gain settings amplify the signal, but they also amplify noise.
- Guiding (Advanced): While not always essential for initial attempts, autoguiding systems can significantly improve tracking accuracy, especially at high magnifications.
- Stacking: Use software like AutoStakkert! to align and stack the best frames from your video. This process averages out atmospheric turbulence and increases the signal-to-noise ratio. Stacking essentially combines multiple frames to create a single, higher-quality image.
- Noise Reduction: Apply noise reduction techniques in software like Photoshop or Starry Landscape Stacker to further reduce graininess. Aggressive noise reduction can blur details, so a light touch is often best.
- Sharpening: Carefully apply sharpening filters to enhance details without introducing artifacts. Over-sharpening can create halos and other unwanted effects.
- Color Correction: Adjust color balance to achieve a natural and pleasing appearance. Planetary colors can be subtle, so careful adjustment is often required.
- Contrast Enhancement: Adjusting the contrast can bring out subtle details and improve the overall appearance of the image.
- Deconvolution (Advanced): Deconvolution techniques can be used to sharpen details that have been blurred by atmospheric turbulence.
- Choose a Night with Good Seeing: Consult seeing reports (if available) or simply observe the steadiness of stars in your telescope. Seeing conditions can vary significantly from night to night.
- Experiment with Different Techniques: Try different frame rates, exposure times, and gain settings to find what works best for your equipment and observing conditions. There’s no one-size-fits-all approach to planetary imaging.
- Be Patient: Planetary imaging can be frustrating, but don’t give up! It takes practice and perseverance to master the techniques.
- Learn from Others: Join online astrophotography forums and communities to learn from experienced planetary imagers. Sharing experiences and asking questions can accelerate your learning curve.
- Smartphone Astrophotography: While dedicated equipment is ideal, even capturing images with a smartphone can be a rewarding introduction to the hobby. Explore astrophotography for smartphones for a simpler entry point.
- Dark Frames & Flat Frames: For more advanced processing, capturing dark frames and flat frames can help to calibrate your images and remove unwanted artifacts.
Essential Equipment
While a dedicated planetary imaging setup can be costly, you can get started with relatively basic equipment. Of course, any successful astrophotography journey begins with understanding the fundamentals – proper polar alignment is crucial for accurate tracking. You can learn more about mastering the polar alignment process, a foundational step for any serious astrophotographer.
Capture Techniques
Image Processing
After capturing your video, the real magic begins: processing. Image processing is key to bringing out the faint details and reducing noise. While capturing stunning images is important, remember that respecting the dark skies and fellow astrophotographers is crucial for the community. Read about astrophotography etiquette to ensure a positive experience for everyone.
Tips for Success
Conclusion
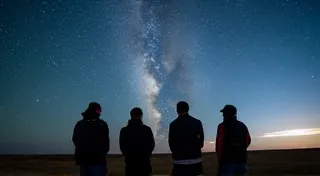
Capturing detailed images of planets requires dedication, patience, and a willingness to experiment. By understanding the challenges and employing the techniques outlined in this guide, you can significantly improve your planetary imaging results and capture stunning views of our solar system's wonders. Remember to always consider the ethical implications of your hobby, and find beauty and narrative in the quiet corners of the cosmos. Consider exploring the deeper meaning behind the images we capture, like the silent echoes in the galactic background.