Introduction to Deep Sky Object (DSO) Astrophotography
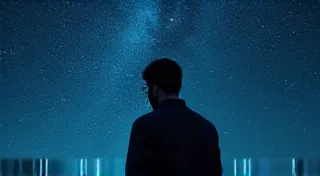
So, you've mastered taking pictures of the Moon and planets? Fantastic! Now it’s time to turn your gaze towards the deeper universe. Deep Sky Object (DSO) astrophotography opens up a whole new world of breathtaking beauty, showcasing galaxies, nebulae, and star clusters – objects so far away they appear as faint smudges in the night sky. This article will introduce you to the fundamentals of capturing these incredible cosmic wonders.
What are Deep Sky Objects?
Deep Sky Objects, or DSOs, are astronomical objects located *beyond* our solar system. They include:
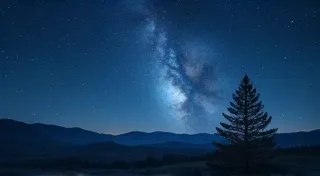
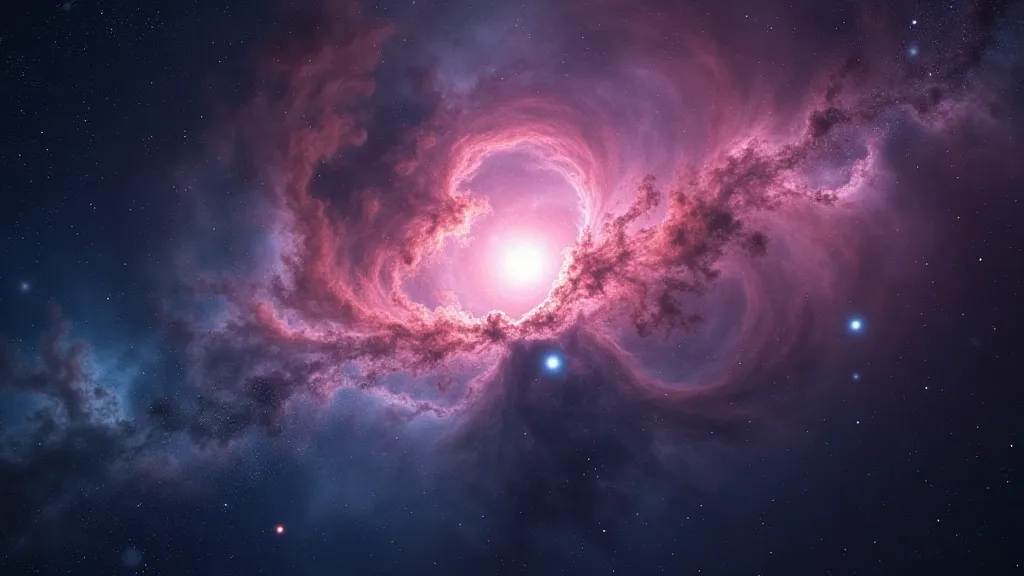
- Galaxies: Vast collections of stars, gas, and dust, often billions of light-years away. Examples include the Andromeda Galaxy and the Whirlpool Galaxy.
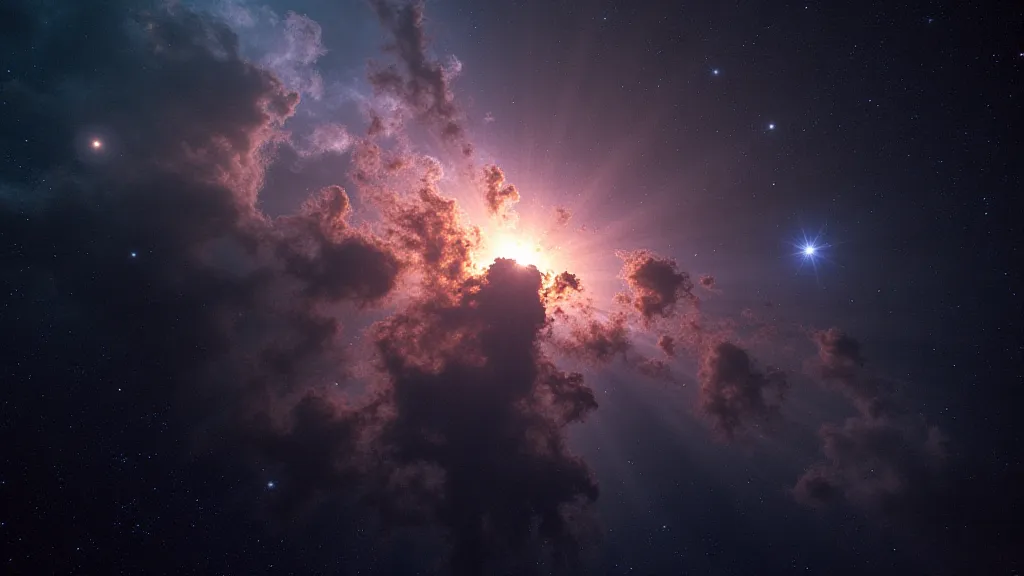
- Nebulae: Clouds of gas and dust, often the birthplaces of stars (emission nebulae), or the remnants of dying stars (planetary nebulae).
- Star Clusters: Groups of stars that formed together from the same molecular cloud. These come in two main types: globular clusters (dense, spherical collections) and open clusters (looser groupings).
The Challenges of DSO Astrophotography
Capturing DSOs is significantly more challenging than photographing closer celestial bodies. Here's why:
- Faintness: DSOs are incredibly faint. They emit very little light, making them difficult to detect and capture.
- Long Exposure Times: To gather enough light, long exposure times are required, often lasting several minutes per image. This necessitates tracking mounts to compensate for the Earth’s rotation.
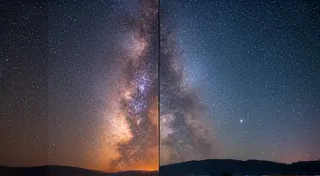
- Light Pollution: Artificial light from cities and towns washes out the faint light from DSOs. Finding a dark sky location is crucial.
- Atmospheric Conditions: Turbulence in the Earth's atmosphere (seeing) can blur the image.
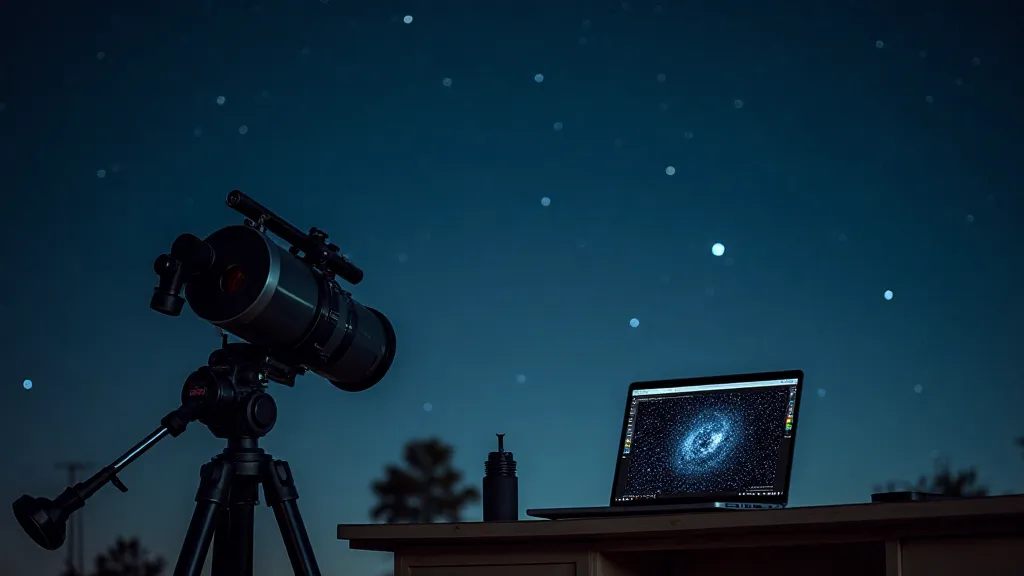
Essential Equipment for DSO Astrophotography
While you *can* start with relatively basic equipment, certain items are essential for capturing decent DSO images:
- Mount: An equatorial mount is *absolutely* necessary. This type of mount compensates for the Earth’s rotation, allowing for long exposure times without star trails. GoTo mounts, which can automatically find and track celestial objects, are a significant advantage.
- Camera: While you *can* use a DSLR or mirrorless camera, dedicated astronomy cameras, often cooled to reduce noise, are generally preferred.
- Telescope or Lens: A telescope provides higher magnification and light-gathering ability. However, a high-quality lens can also be used, especially for wider-field views.
- Filters: Light pollution filters help to block out unwanted light from cities.
Basic Techniques: Guiding and Stacking
Two key techniques are essential for successful DSO astrophotography:
- Guiding: Even with a GoTo mount, slight tracking errors can accumulate over long exposures, causing stars to trail. Guiding involves using a separate guide scope and camera to monitor the tracking and make corrections in real-time.
- Stacking: Multiple images of the same object are taken and then “stacked” together using specialized software. This process increases the signal-to-noise ratio, bringing out faint details and reducing random noise.
Software & Processing
Several software packages are available for astrophotography, from controlling your equipment to processing your images. Popular options include:
- Capture Software: N.I.N.A., APT
- Stacking Software: DeepSkyStacker (DSS), PixInsight
- Processing Software: Photoshop, GIMP, PixInsight
Getting Started
DSO astrophotography can seem daunting at first, but don’s be discouraged! Start with brighter objects like the Orion Nebula (M42) or the Pleiades (M45). Join online forums and communities to learn from experienced astrophotographers. With patience and practice, you'll be capturing your own stunning images of the deep universe.