Post-Processing Astrophotography Images: A Beginner's Workflow
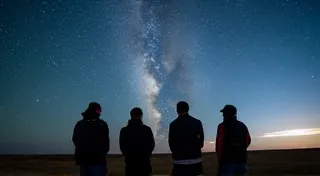
So, you've captured your first batch of astrophotography images! Congratulations! But let's be honest, those raw files, while containing incredible potential, aren’t quite ready for Instagram (or a framed print) just yet. That's where post-processing comes in. This article provides a beginner-friendly workflow for bringing out the beauty hidden within your astrophotography data.
Why Post-Processing is Essential
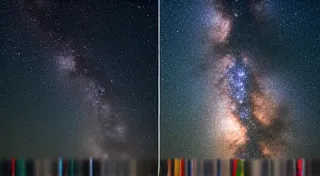
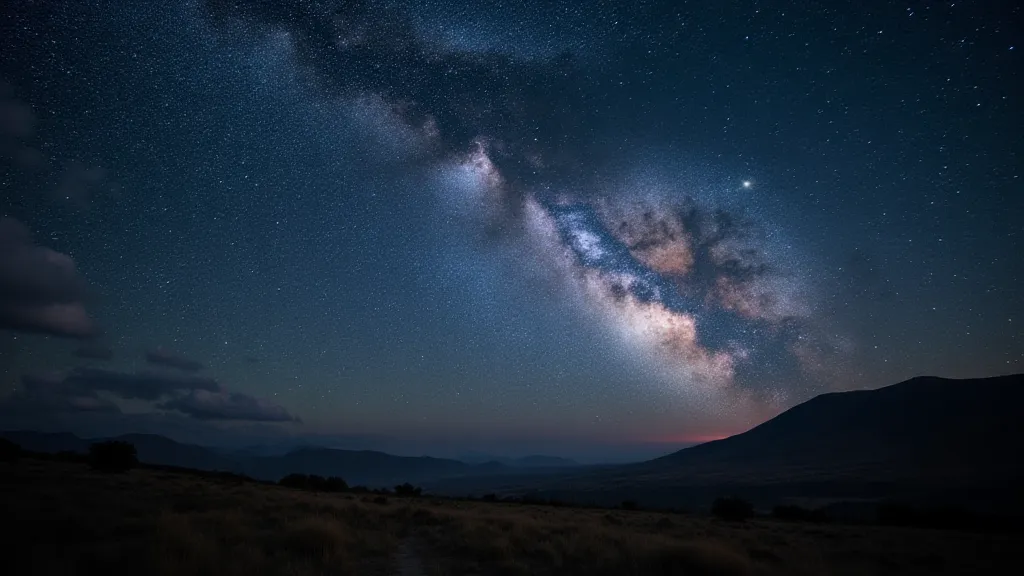
Astrophotography isn't just about pointing a camera at the night sky. It’s about gathering faint light over extended periods. Raw data often suffers from noise, low contrast, and the effects of light pollution. Post-processing techniques help to mitigate these issues, reveal intricate details, and truly capture the majesty of the cosmos.
Software Options: Photoshop vs. PixInsight
There are several software options available for processing astrophotography images, each with its strengths and weaknesses. We’ll focus on two popular choices: Adobe Photoshop and PixInsight.
- Adobe Photoshop: Widely used and familiar to many photographers. Offers a versatile set of tools and a vast online community for support. While not specifically designed for astrophotography, its general image manipulation capabilities can be adapted.
- PixInsight: A dedicated astrophotography processing suite. It provides powerful, specialized tools specifically for dealing with the unique challenges of astronomical data. It has a steeper learning curve but offers more advanced capabilities.
For this beginner's guide, we're focusing on principles applicable to both, but will mention where specific tools differ.
A Basic Workflow: The Steps to Beautiful Images
Here's a simplified workflow to get you started. Each step can be tweaked and customized to achieve different looks.
1. Calibration Frames (Darks, Flats, Bias) - *Important Pre-Processing*
Before any adjustments, it’s *highly* recommended you calibrate your lights. Calibration frames correct for sensor quirks and dust/light pollution. These are typically Dark frames (shot with the lens cap on), Flat frames (shot of a evenly lit surface), and Bias frames (shortest possible exposure). Software like DeepSkyStacker can easily perform this calibration.
2. Stacking
Stacking involves combining multiple exposures of the same target. This increases the signal-to-noise ratio, revealing fainter details and reducing random noise. Software like DeepSkyStacker, Siril, or PixInsight can be used for this. The calibrated and stacked images should now have a much cleaner base.
3. Initial Adjustments (Levels & Curves)
This is where you start to bring out the contrast and brightness. Use levels or curves adjustments (found in both Photoshop and PixInsight) to map the tonal range of the image. Focus on stretching the darker areas to reveal hidden details in nebulae or galaxies.
4. Noise Reduction
Even with careful stacking and calibration, noise can still be a problem. Both Photoshop and PixInsight offer noise reduction tools. Be careful not to overdo it, as aggressive noise reduction can blur details. In PixInsight, tools like Noise Reduction (Wavelets) are very effective.
5. Color Balance & Saturation
Fine-tune the colors to create a pleasing aesthetic. Pay attention to the overall color balance and adjust saturation to enhance the vibrancy of different elements. The natural colors of deep-sky objects can be subtle, so experimentation is key.
6. Sharpening (Carefully!)
Sharpening can bring out finer details, but it's also a common cause of exaggerated noise. Use sharpening techniques sparingly, focusing on areas with well-defined structures. Unsharp Mask and Smart Sharpen are commonly used tools.
7. Final Adjustments & Export
Make any final tweaks to brightness, contrast, and color. Consider using a vignette to draw the viewer's eye to the center of the image. Export the image in a suitable format (TIFF for high quality, JPEG for web use).
Tips for Beginners
- Start Simple: Don’t try to master everything at once. Focus on the fundamentals.
- Experiment: There’s no single “right” way to process astrophotography images.
- Observe: Learn from the work of other astrophotographers.
- Practice: The more you process, the better you’re going to get!
Post-processing is a crucial aspect of astrophotography. While it can seem daunting at first, with a little practice, you'll be amazed at the beauty you can reveal in your night sky photographs.