Stacking Astrophotography Images: Increase Signal-to-Noise Ratio
One of the biggest challenges in astrophotography is dealing with noise. The night sky, while seemingly dark, is filled with subtle light pollution, thermal noise from your camera sensor, and random fluctuations. These factors combine to create “noise” in your images, obscuring faint details and reducing overall image quality. Thankfully, there's a powerful technique called image stacking that significantly combats this problem.
What is Image Stacking?
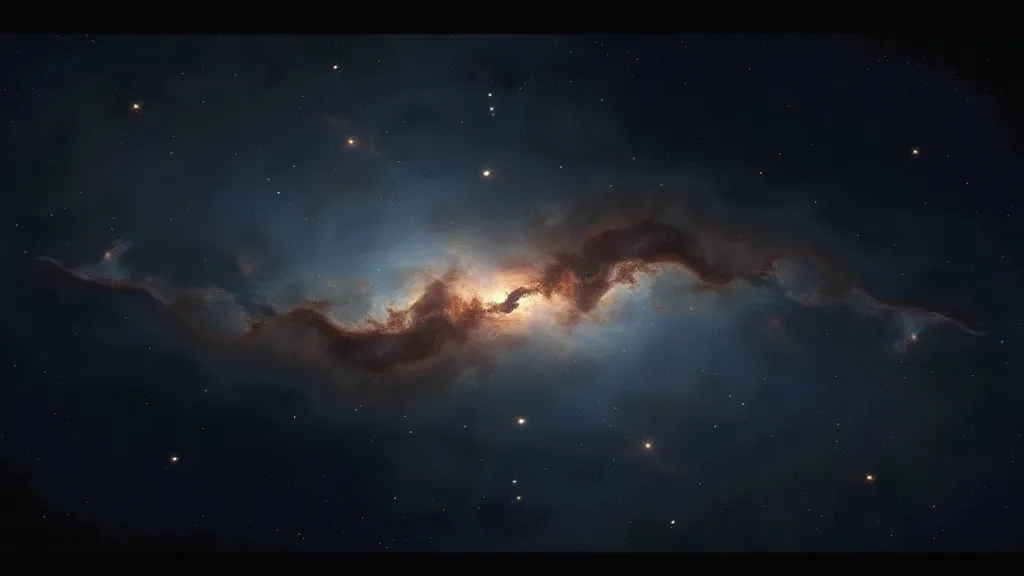
Image stacking, also known as integration, is the process of combining multiple, short-exposure images of the same object to create a single, higher-quality image. By averaging these images, random noise tends to cancel out, while the signal (the actual celestial object you’re photographing) becomes stronger.
Think of it like this: a single exposure might be 50% signal and 50% noise. With ten exposures, stacked together, the signal remains at 50%, but the noise is reduced to roughly 25% (the square root of the number of exposures). With 100 exposures, the signal remains at 50%, but the noise drops to just 5%! This dramatically improves the visibility of faint details like nebulae and galaxies.
Why Stack? The Benefits
- Reduced Noise: The primary benefit – significant noise reduction.
- Increased Dynamic Range: Stacking can help capture a wider range of brightness values, revealing details in both bright stars and faint nebulae.
- Improved Resolution (Slightly): While not a dramatic increase, stacking can, in some cases, slightly improve perceived resolution through a process called lucky imaging. This is where precise tracking becomes critical; even minor inaccuracies can smear the final image.
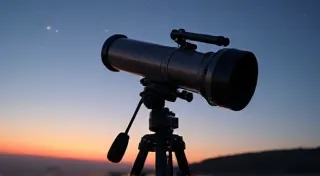
- Compensation for Imperfections: Small tracking errors or slight variations in camera settings between exposures are mitigated when stacked. Achieving consistently accurate tracking often requires mastering the polar alignment process, a key skill for any serious astrophotographer.
The Stacking Process: A Basic Workflow
- Acquire Multiple Exposures: This is your foundation. Aim for many exposures – 50 is a good starting point, but hundreds are common for deep-sky objects. The more exposures you gather, the more the noise averages out, leading to a cleaner final image. Understanding which deep sky objects are best to begin with is key, and can be found in an introduction to deep sky object (DSO) astrophotography.
- Calibration Frames (Important!): While not *always* required, calibration frames are highly recommended for optimal results. These include:
- Darks: Taken with the lens cap on, at the same ISO and exposure time as your light frames. They capture thermal noise from the sensor.
- Flats: Taken with even illumination (e.g., a white t-shirt stretched over your telescope lens). They correct for dust spots and vignetting.
- Bias Frames (or Offset Frames): Taken with the shortest possible exposure time and lens cap on. They correct for read noise in the camera.
Understanding the purpose and creation of these frames is vital to maximizing the quality of your stacked images. Failing to include calibration frames can lead to noticeable artifacts in the final result.
- Image Stacking Software: Several excellent programs are available:
- DeepSkyStacker (DSS): Free and popular, especially for beginners.
- Sequator: Free and well suited for wide-field astrophotography.
- PixInsight: A powerful (and more complex) commercial option.
Each software package has its strengths and weaknesses. DSS is a great entry point, while PixInsight offers unparalleled control for advanced users.
- Alignment and Registration: The software aligns the individual images, compensating for slight variations in tracking or camera position. This is where understanding the concept of focal length in astrophotography becomes important; different focal lengths necessitate varying degrees of precision in alignment.
- Stacking: The aligned images are combined using an averaging algorithm.
- Post-Processing: Adjust levels, curves, and colors to bring out the detail in your stacked image.
Tips for Successful Stacking
- Consistent Exposure Settings: Try to maintain the same ISO, exposure time, and focus across all exposures.
- Accurate Tracking: Precise tracking is crucial. Any tracking errors will result in blurry or misaligned images that won't stack well. The better your tracking, the less reliant you'll be on the stacking process to correct for errors.
- Experiment with Calibration Frames: The number and type of calibration frames you need will depend on your equipment and imaging conditions. Some cameras and sensors are more prone to thermal noise than others, requiring more dark frames.
- Start Simple: Begin with a small number of exposures and work your way up as you gain experience. Don't be afraid to experiment and learn from your mistakes.
- Consider Guiding: For extended exposure times, even the most accurate trackers can drift. Implementing a guiding system can dramatically improve tracking accuracy and reduce the need for excessive stacking.

Understanding the Technical Aspects
Beyond the basic workflow, understanding the underlying principles can significantly improve your results. For instance, the type of telescope and camera you use directly impact the amount of noise you're dealing with. Longer focal length telescopes require even more precise alignment and tracking, emphasizing the need for careful preparation and execution. Furthermore, factors like air quality and light pollution can contribute to the overall noise level, necessitating longer exposure times and more frames to compensate. Learning to manage these factors is a crucial part of the astrophotography journey.
Post-Processing and Fine-Tuning
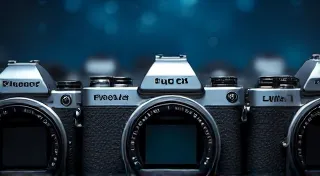
While image stacking significantly reduces noise, it's rarely the final step. Post-processing is essential for bringing out the subtle details and creating a visually stunning image. Software like Photoshop or dedicated astrophotography processing tools allow you to fine-tune colors, contrast, and sharpness. Mastering these techniques can transform a good stacked image into a truly remarkable one. Remember that the ultimate goal is to reveal the beauty hidden within the raw data. For those looking to truly elevate their results, careful consideration of camera selection is paramount – the decision between a DSLR, mirrorless, or dedicated astrophotography camera significantly impacts final image quality, as explored in a guide to choosing your first astrophotography camera.
Ethical Considerations and Dark Sky Preservation
As astrophotography becomes increasingly popular, it's important to be mindful of our impact on dark skies. Light pollution is a major threat to astronomical observation, and responsible astrophotographers should strive to minimize their contribution. This includes using red lights during imaging sessions, avoiding bright spotlights, and advocating for dark sky preservation efforts. Furthermore, understanding how to manage your equipment and workflow to minimize light pollution’s impact is essential.
Further Exploration & Resources
This guide has covered the fundamentals of image stacking, but there’s much more to explore in the world of astrophotography. From advanced processing techniques to mastering specialized equipment, continuous learning is key to pushing your skills to new heights. Sharing your work and connecting with other enthusiasts can also provide valuable insights and inspiration. For those just beginning their journey, documenting the process, from acquisition to final processing, is invaluable for learning and improvement.
Conclusion
Image stacking is a transformative technique that can dramatically improve the quality of your astrophotography images. By understanding the principles and applying the techniques outlined in this guide, you can unlock the full potential of your equipment and capture breathtaking views of the cosmos. Don't be afraid to experiment, learn from your mistakes, and most importantly, enjoy the journey of exploring the universe through your lens.