Beginner's Guide to Guiding in Astrophotography
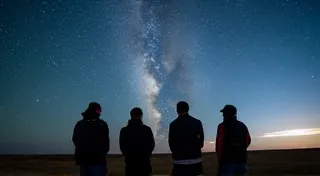
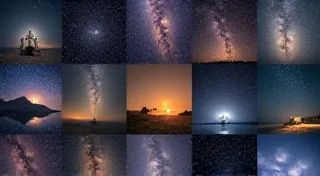
Welcome to the exciting world of astrophotography! Capturing those breathtaking images of the night sky often requires more than just a good camera and lens. One crucial technique that separates casual snapshots from truly stunning results is guiding. This guide will break down what guiding is, why it's important, and what equipment you'll need to get started. Many beginners start with simpler methods, like smartphone astrophotography, but as you progress, guiding becomes essential for truly revealing faint details.
What is Guiding?
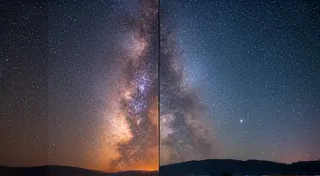
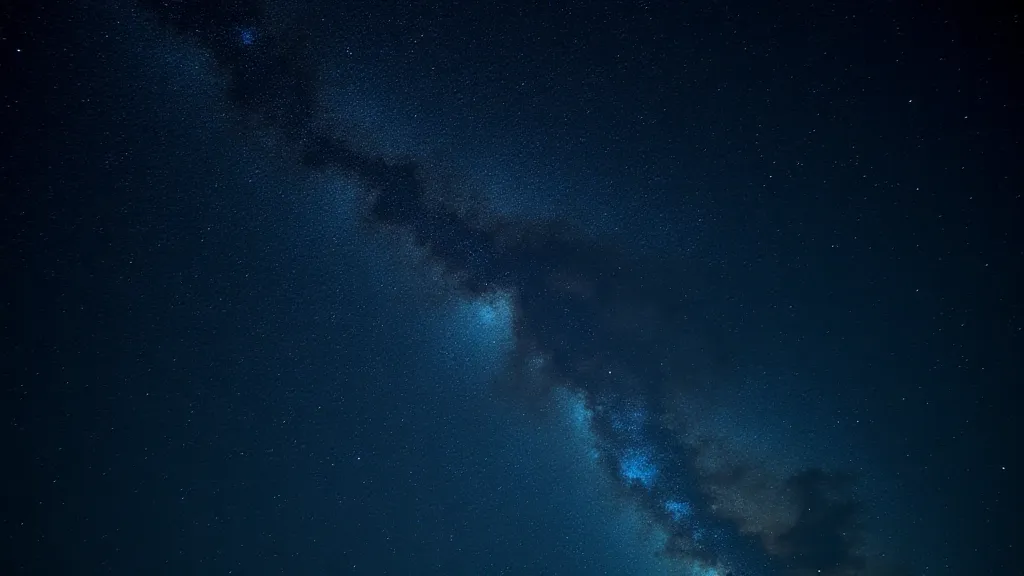
Astrophotography involves long exposures – often several minutes or even hours. During this time, the Earth is rotating. This rotation causes stars to appear to move across the sky, resulting in blurry images if your equipment isn’t compensating. Without guiding, stars will trail, and faint details will be lost in a smeared mess.
Guiding, at its core, is the process of constantly making tiny corrections to your telescope’s tracking. A guiding system uses a separate camera and software to monitor a bright star (or sometimes a distant galaxy) within your field of view. If the star drifts, the software sends instructions to your telescope’s mount to make small adjustments, keeping it pointed accurately. Think of it like a tiny autopilot for your telescope.
There are two primary methods of guiding: manual and automatic. Manual guiding involves you actively making corrections based on what you see, requiring intense focus and experience. Automatic guiding, which we’ll focus on here, uses software to handle the corrections autonomously.
Why is Guiding Important?
The benefits of guiding are significant:
- Longer Exposures: Guiding allows you to take exposures significantly longer than what’s possible without it, enabling you to capture fainter details in nebulae and galaxies. This is vital for revealing the subtle structures hidden within deep-sky objects.
- Sharper Images: By minimizing tracking errors, guiding results in sharper, more detailed images. Every correction, however small, contributes to a final image with significantly reduced blur.
- Increased Signal-to-Noise Ratio: Longer exposures collect more light, increasing the signal-to-noise ratio and revealing subtle features. Think of it as amplifying the dim light from distant stars and galaxies.
- Better Image Processing: Cleaner data from guided images makes processing easier and yields more impressive results. Reducing noise and blur simplifies post-processing, allowing you to focus on enhancing the image's beauty.
Essential Guiding Equipment
While a dedicated guiding system can be a significant investment, here’s a breakdown of the essential components:
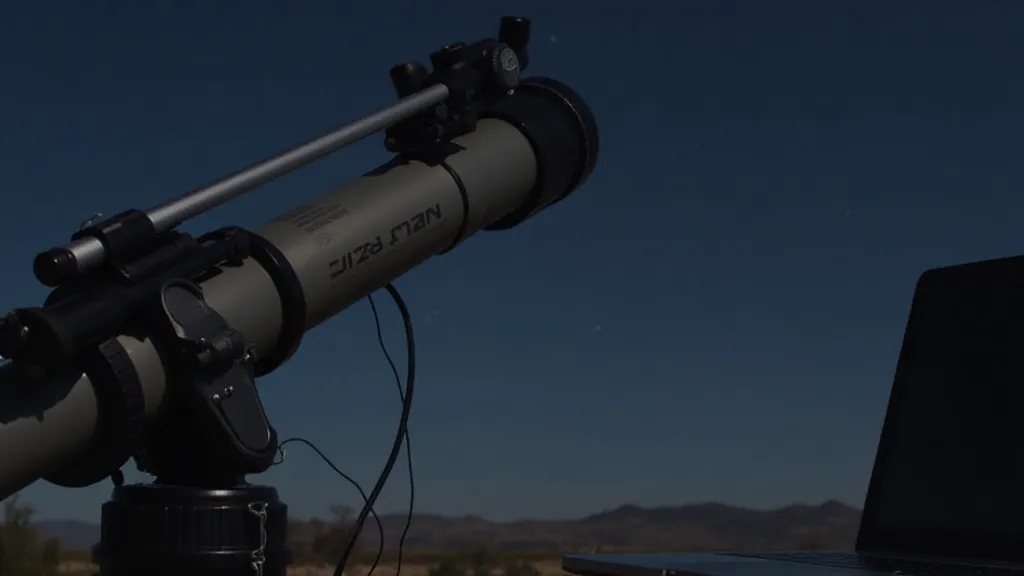
- Equatorial Mount: This is non-negotiable. Astrophotography requires a motorized equatorial mount capable of tracking the night sky. These mounts are more complex than standard photographic tripods and are the foundation of a successful astrophotography setup. Accurate polar alignment, a crucial step in the process, relies heavily on a quality equatorial mount.
- Guiding Camera: This is a specialized camera, typically monochrome, designed for accurate star detection. They are usually smaller and more sensitive than standard astrophotography cameras, offering higher resolution and better light gathering capabilities.
- Guide Scope (or Off-Axis Guider – OAG): The guide scope is a small telescope attached to your main telescope. It provides the view for the guiding camera. An OAG, which is a more advanced and often more accurate option, uses a prism to direct light from your main telescope to the guiding camera. Choosing between a guide scope and an OAG involves weighing the benefits of simplicity versus increased accuracy.
- Guiding Software: Software like PHD2 Guiding (free and popular) analyzes the guide camera's output and sends correction signals to the mount.
- Computer: A laptop or desktop computer to run the guiding software.
- Polar Alignment Scope (Optional): While not directly part of the guiding system, a polar alignment scope drastically simplifies the initial polar alignment process, setting the stage for successful guiding.
Before you dive into guiding, it's important to understand the safety aspects of astrophotography. Being out under the night sky often means dealing with darkness, remote locations, and potential wildlife encounters. Reviewing astrophotography safety guidelines is a vital part of responsible imaging.
Getting Started with Guiding
The initial setup and configuration of a guiding system can seem daunting. Here’s a simplified overview:
- Polar Alignment: Accurate polar alignment is crucial for successful guiding. This involves aligning your equatorial mount precisely with the Earth’s rotational axis. This is arguably the most important step and requires patience and careful attention to detail.
- Guide Scope/OAG Attachment & Focusing: Securely attach your guide scope (or OAG) and carefully focus it. Proper focusing is vital for the guiding software to accurately detect and track guide stars.
- Connecting & Configuring Software: Connect the guiding camera to your computer and install the guiding software (like PHD2). Configure the software to communicate with your mount.
- Finding a Guide Star: The software will help you locate a suitable guide star within your field of view. A good guide star should be bright enough to be reliably detected but not so close to other objects that it's obscured.
- Calibration and Tuning: The software will then run a calibration process to determine how your mount is behaving and calculate correction parameters. This process, often referred to as "plate solving," analyzes the guide star's position to determine the mount's tracking accuracy.
Once you’ve mastered the basics of guiding, you might start thinking about capturing the Moon. While guiding isn's always necessary for lunar photography, understanding the principles can still be beneficial. Consider exploring Lunar Astrophotography: Capturing the Moon's Beauty for more details on lunar imaging techniques.
Troubleshooting Common Guiding Issues
Even with careful setup, you may encounter guiding problems. Some common issues include:
- Guide Star Too Faint: Ensure your guide star is bright enough for reliable detection.
- Mount Flexure: Mount flexure, especially during longer exposures, can introduce tracking errors.
- Incorrect Polar Alignment: Fine-tune your polar alignment for optimal performance.
- Software Configuration Errors: Double-check your software settings to ensure compatibility with your mount.
Conclusion
Guiding is a powerful technique that unlocks the full potential of astrophotography. While it adds complexity, the rewards – sharper, more detailed images of the night sky – are well worth the effort. Start with the basics, practice regularly, and don't be afraid to experiment. Remember to consider post-processing techniques to further enhance your final images. A well-guided image will always process better. Happy imaging!